Week 6: Food Storage: Fridge & Pantry Organization

Food organization needed its own dedicated week! Organizing food is challenging because food is constantly entering and leaving the space, then you have other household members rummaging through - so it’s very easy for the space to get unorganized without proper systems in place.

pantry organization.jpg


Let’s start with the fridge:

Process:

  1. Clear your counters and remove everything from the fridge.

  2. Group your items by category. (fruits, vegetables, deli meats, cheese, dairy, leftovers etc.)

  3. Examine each item for the expiry date. Get rid of the expired items and items you didn’t end up liking/using.

  4. Now that the fridge is empty, give it a good wipedown.

  5. When placing the items back, use the categories you created to keep the items together. I love keeping items contained. You can find acrylic bins to hold your categories. Bonus points if you have them labeled.

    Pro Tip: Don’t put milk inside the door. Because the door is opened so often, milk can get affected by the fluctuation in temperature. Dairy and meats need stable temperature. So the bottom shelf in the fridge is often the preferred spot.

Here are some products that can do wonders in the fridge.

*As an Amazon Associate I earn from qualifying purchases. I get a small percentage of the product price (with no extra cost to you!), so thank you for buying through me and supporting my business.

No more losing things at the back of the fridge. Use this to group jars and condiments.

Drink organizer. If you are a big soda drinker, this will help you gain back some space.

Clear top protects eggs and makes it easy to stack more food or other storage organizers on top of the bin

Pantry Organization:

Follow the same steps as above:

Process:

  1. Clear your counters and remove everything from your pantry.

  2. Group your items by category. This depends on your own personal use (Some suggestions: baking, breakfast, pasta, rice, grains, snacks - if you’re a big snacker like us, separate sweets and salty snacks).

  3. Examine each item for the expiry date. Get rid of the expired items and items you didn’t end up liking/using.

  4. Now that the pantry is empty, give it a good wipedown.

  5. When placing the items back, use the categories you’ve created to keep the items together. I love keeping items contained using bins to hold your categories together. Label your categories.

Importance of Labels.
Maintenance is key. It helps keep things in order, not just for yourself, but anyone else living with you.

Pantry Organization Favourites:

Use these shelf risers to stack your cans/jars/bottles so you can easily see them all at a glance.

Another option for your cans, this can organizer really uses the vertical space.

I’m a big fan of these oxo food storage containers. They have an air tight seal which ensures freshness.

Any bin, whether they are acrylic, plastic, or these wire bins all serve the same purpose: They help contain your categories.

Week 4: Linen Closet/ Laundry Room Organization

New Month, New Week! Since we last tackled our bathrooms, it only made sense to continue on to the linen closet. My linen closet is within the laundry room so this post will cover both spaces. Here is where I keep all our sheets, towels, laundry products, and extra household supplies.

montreal organizer declutter.jpg

Ready? 3 2 1, let’s go!

Let’s Organize the Linen Closet

montreal organizer.jpg

Towels

So if you’re like me, you have a set of favourite towels that you gravitate towards, and some you only use if you have no choice. If your closet is overflowing with towels, let’s start going through them and start decluttering. Anything with holes, stains or if they have started fraying - get rid of them. (If you have younger kids, I would suggest to keep a few old towels on hand in case of big spills or messes, otherwise out they go)

Tip: You can donate your old towels to a veterinarian or an animal shelter. They’ll gladly accept them.

Sheets

Just like the towels, anything with stains or rips can go. We don’t need to hold on to so many extras.

Clients often ask me how many sheets they should keep on hand? The number can vary from person to person, but a safe bet would be 3 per person. This allows you to rotate your sheets and you’ll always have one on hand in between washes. I keep the sheets separated by which bed they are for. I also like to keep my sheets in fabric bins. This helps from sheets spilling over, and it just looks visually more attractive.

Pro Tip: Keep the sheets folded into their corresponding pillowcases. Helps keep everything together.


hamper.jpg

Now is also a good time to go through the space you keep your laundry products, toss out anything you don’t use. I store all my laundry products together depending on how often I use them. The detergents and softeners are up front. Stain removal products are behind. (They used to be up front when kids were younger!)

All the overflow products and less used cleaning products are on a less accessible shelf.

Because my laundry room is on the same floor as the bedrooms, we don’t have individual hampers in each room. I keep one main hamper within the laundry room. I love finding ways to maximize my space. I found this 2 tier, vertical laundry hamper from Costco.

Also, since we’re on the topic of laundry. One tip I absolutely try to live by, Do a load of laundry per day. (sometimes it’s every other day, if we’re being honest).

Here are some useful Amazon products to organize the laundry room. See if they’ll work for you.

Over the door or wall mounted ironing board and iron holder

Slim, Slide out Storage Tower

Fabric storage bins


(As an Amazon Associate I earn from qualifying purchases. I get a small percentage of the product price (with no extra cost to you!), so thank you for buying through me and supporting my business.

Week 3: Bathroom Organization 2021 Home Organizing Challenge

bathroom organization.jpg

Ah, the bathrooms. Let’s be honest, when is the last time you pulled out everything from your bathroom and did a good purge?

Bathroom drawers or cabinets are not really high traffic zones so often times we forget what’s even in there.

How to Organize the Bathroom: The Process

  • Empty out the products from your bathroom.

  • Just like we did with the junk drawer last week, sort the products by category. Start by tossing the products you’ve had for a while and hardly use. Don’t forget the samples, testers, and the almost empty bottles.

  • Containerize them by whichever category makes the most sense to you (by type, frequency of use, what body part that item is for teeth, hair care etc).

  • Place them back.

Some Useful Bathroom Organization Tips:

  • Don’t forget the inside of your cabinet doors. There are a variety of hanging organizers that fit right over your cabinet door that will help maximize the space.

  • Shelf risers are not just for the kitchen. Use that vertical space inside your cabinets.

  • Drawer dividers. You know I love them. We used them last week in our junk drawers, we use them in our kitchen, why not use them in our bathroom drawers to help contain items.

  • Keep those counters clutter free.

Here are some of my favourite bathroom organizing products.Click on image to view more details.

*As an Amazon Associate I earn from qualifying purchases

Makeup Expiration Dates

1.jpg

Mascara: 4-6 months
Lipstick: 12-18 months
Pencil Eyeliner: 1 year
Liquid eyeliner: 3-6 months
Foundation: 12-18 months
Concealer: 12-18 months
Eyeshadow/blush: 1-2 years

It’s hard to remember when the items were purchased, but even a general idea should be good enough as a starting point.

I hope you’re feeling accomplished after organizing your bathroom. Til next week!

Here Is a link to our facebook group if you’d like some extra support and speak to others also participating in the challenge.

Amazon Block

2021 Home Organizing Challenge. Week 1: Paper Management.

Welcome to our 1st ever 2021 Home Organizing Challenge. We hope to turn this into a yearly event.

What better time to start than January? This is the time many people resolve to get more organized. My job is to help, motivate, and hopefully inspire you to stay organized, long after the challenge is done.

Let’s start by doing a brain dump. Free your mind, write down anything and everything that you need to do. Sometimes just getting everything out makes me feel less stressed, even if i don’t actually do the items on the list! You can also just use any notebook, same concept.

papermanagement.jpg

First week we’ll start small. Paper Management. Now, I’m not asking you to go deep in your archives and pull out files from 5 years ago. We don’t want to overwhelm ourselves. Start now, where you are and move forward. Once you create a system for current paper, you can always go back when you feel ready to tackle it on.

Ready to Simplify? Let’s begin:

paperorganization.jpg
  1. I’m going to ask you to go around your home and collect all the paper you see. Don’t include paper that is already in some sort of filing system, or archives. Go get all the junk mail, bills, magazines, forms, receipts, papers that need a home.

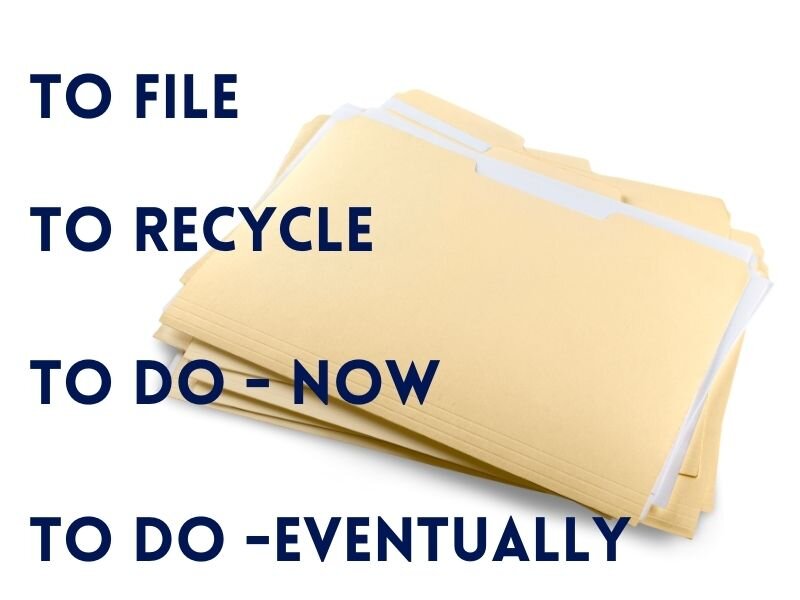
  2. Separate into piles: To Recycle, To File, To-Do Eventually, To Do Now. Any forms or bills that are due within the week should go into the To Do Now pile. Make sure you get to them by the end of the week, if you can’t tackle it immediately. The key to not letting that “To Do Eventually” pile is to go through it weekly. Priorities often change, you may change your mind and move it to the Recycle Pile or it may end up being moved to To Do Now.

  3. Set up a command centre for incoming papers so they have a home while they’re all in one place and waiting to be sorted.

  4. Remember, maintenance is the key to staying organized. Make it a habit to tackle all incoming papers as soon as they enter the home. If you add this to your weekly routine, you’ll soon have your paper under control.

5 Ways to Start your Day off Right

Especially on Monday mornings which don’t have a bad rep for no reason. First off, think about what your ideal day even looks like. What do you want to accomplish? Then try these tricks below and see if it will help you achieve your goals.

morning.jpg
8.png
  1. Try to sleep early so that you get your 8 hours of sleep. This is something I need to remind myself because I love my free time in the evenings.

  2. Lay out your next day’s outfit. I’ll even lay out my kids clothes just because I want them to be as quick as possible in the morning without asking me tons of questions. Also, leave whatever you need for the next day by the front door so it’s easy to grab and go. If it’s returns you have to do, your work bag, an umbrella if there is rain just leave them in a handy spot by the door.

  3. Start your day with intention. Review your schedule the night before. Plan your day in advance so you know how your day will look. Less time wasted in figuring out what to do next. Even if they are small bite sized tasks, you’ll feel more productive crossing them off your list.

  4. Exercise. Go out for a quick walk. Getting your blood pumping first thing in the morning will energize you. If you have time for a full workout, even better!

  5. Eat a good breakfast. After all, it’s not called the most important meal of the day for no reason. A balanced meal will help you feel fuller longer. Breakfast replenishes blood sugar levels, which helps provide energy and improves concentration.

The key to having a great morning all depends on you. See what works for you, what makes you happy, and continue to do that.

Exercise and sleeping early are definitely areas I struggle in. What about you? What’s your morning routine look like? Anything you’d like to improve on?

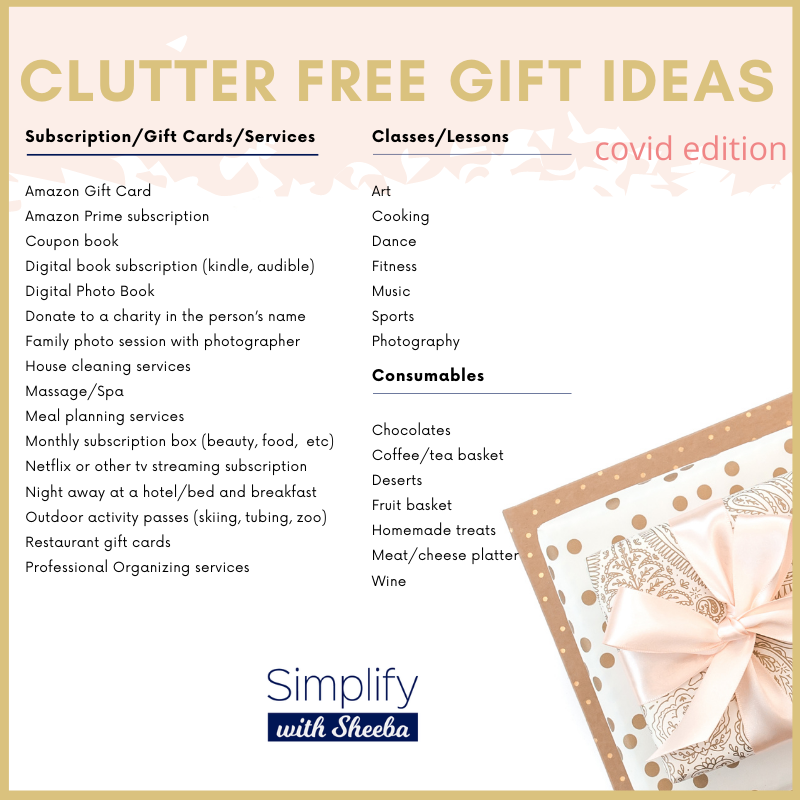
Clutter Free Gift Ideas - covid edition

So this year has been…..interesting, to say the least and I’m sure we’re all ready for a better 2021!

The holiday season can be a stressful time, regardless of our current situation. Additionally, we’re not going to the malls as often and can surely expect delays with online deliveries making it more challenging to pick out gifts,

I’ve compiled some clutter free gift ideas, most of which you could purchase from the comfort of your own home and they can still enjoy during the pandemic. (no international trips on the list!)

These gifts won’t add clutter to your loved ones homes, also they will help out the businesses you purchase from. Win win!

Happy Holidays everyone and hope you all stay safe!

clutter free (1).png

Decluttering Sentimental Items: Some tips.

Decluttering sentimental items can be tough; you need to be in the right frame of mind. It’s also why I never suggest starting an organizing session with this category. 

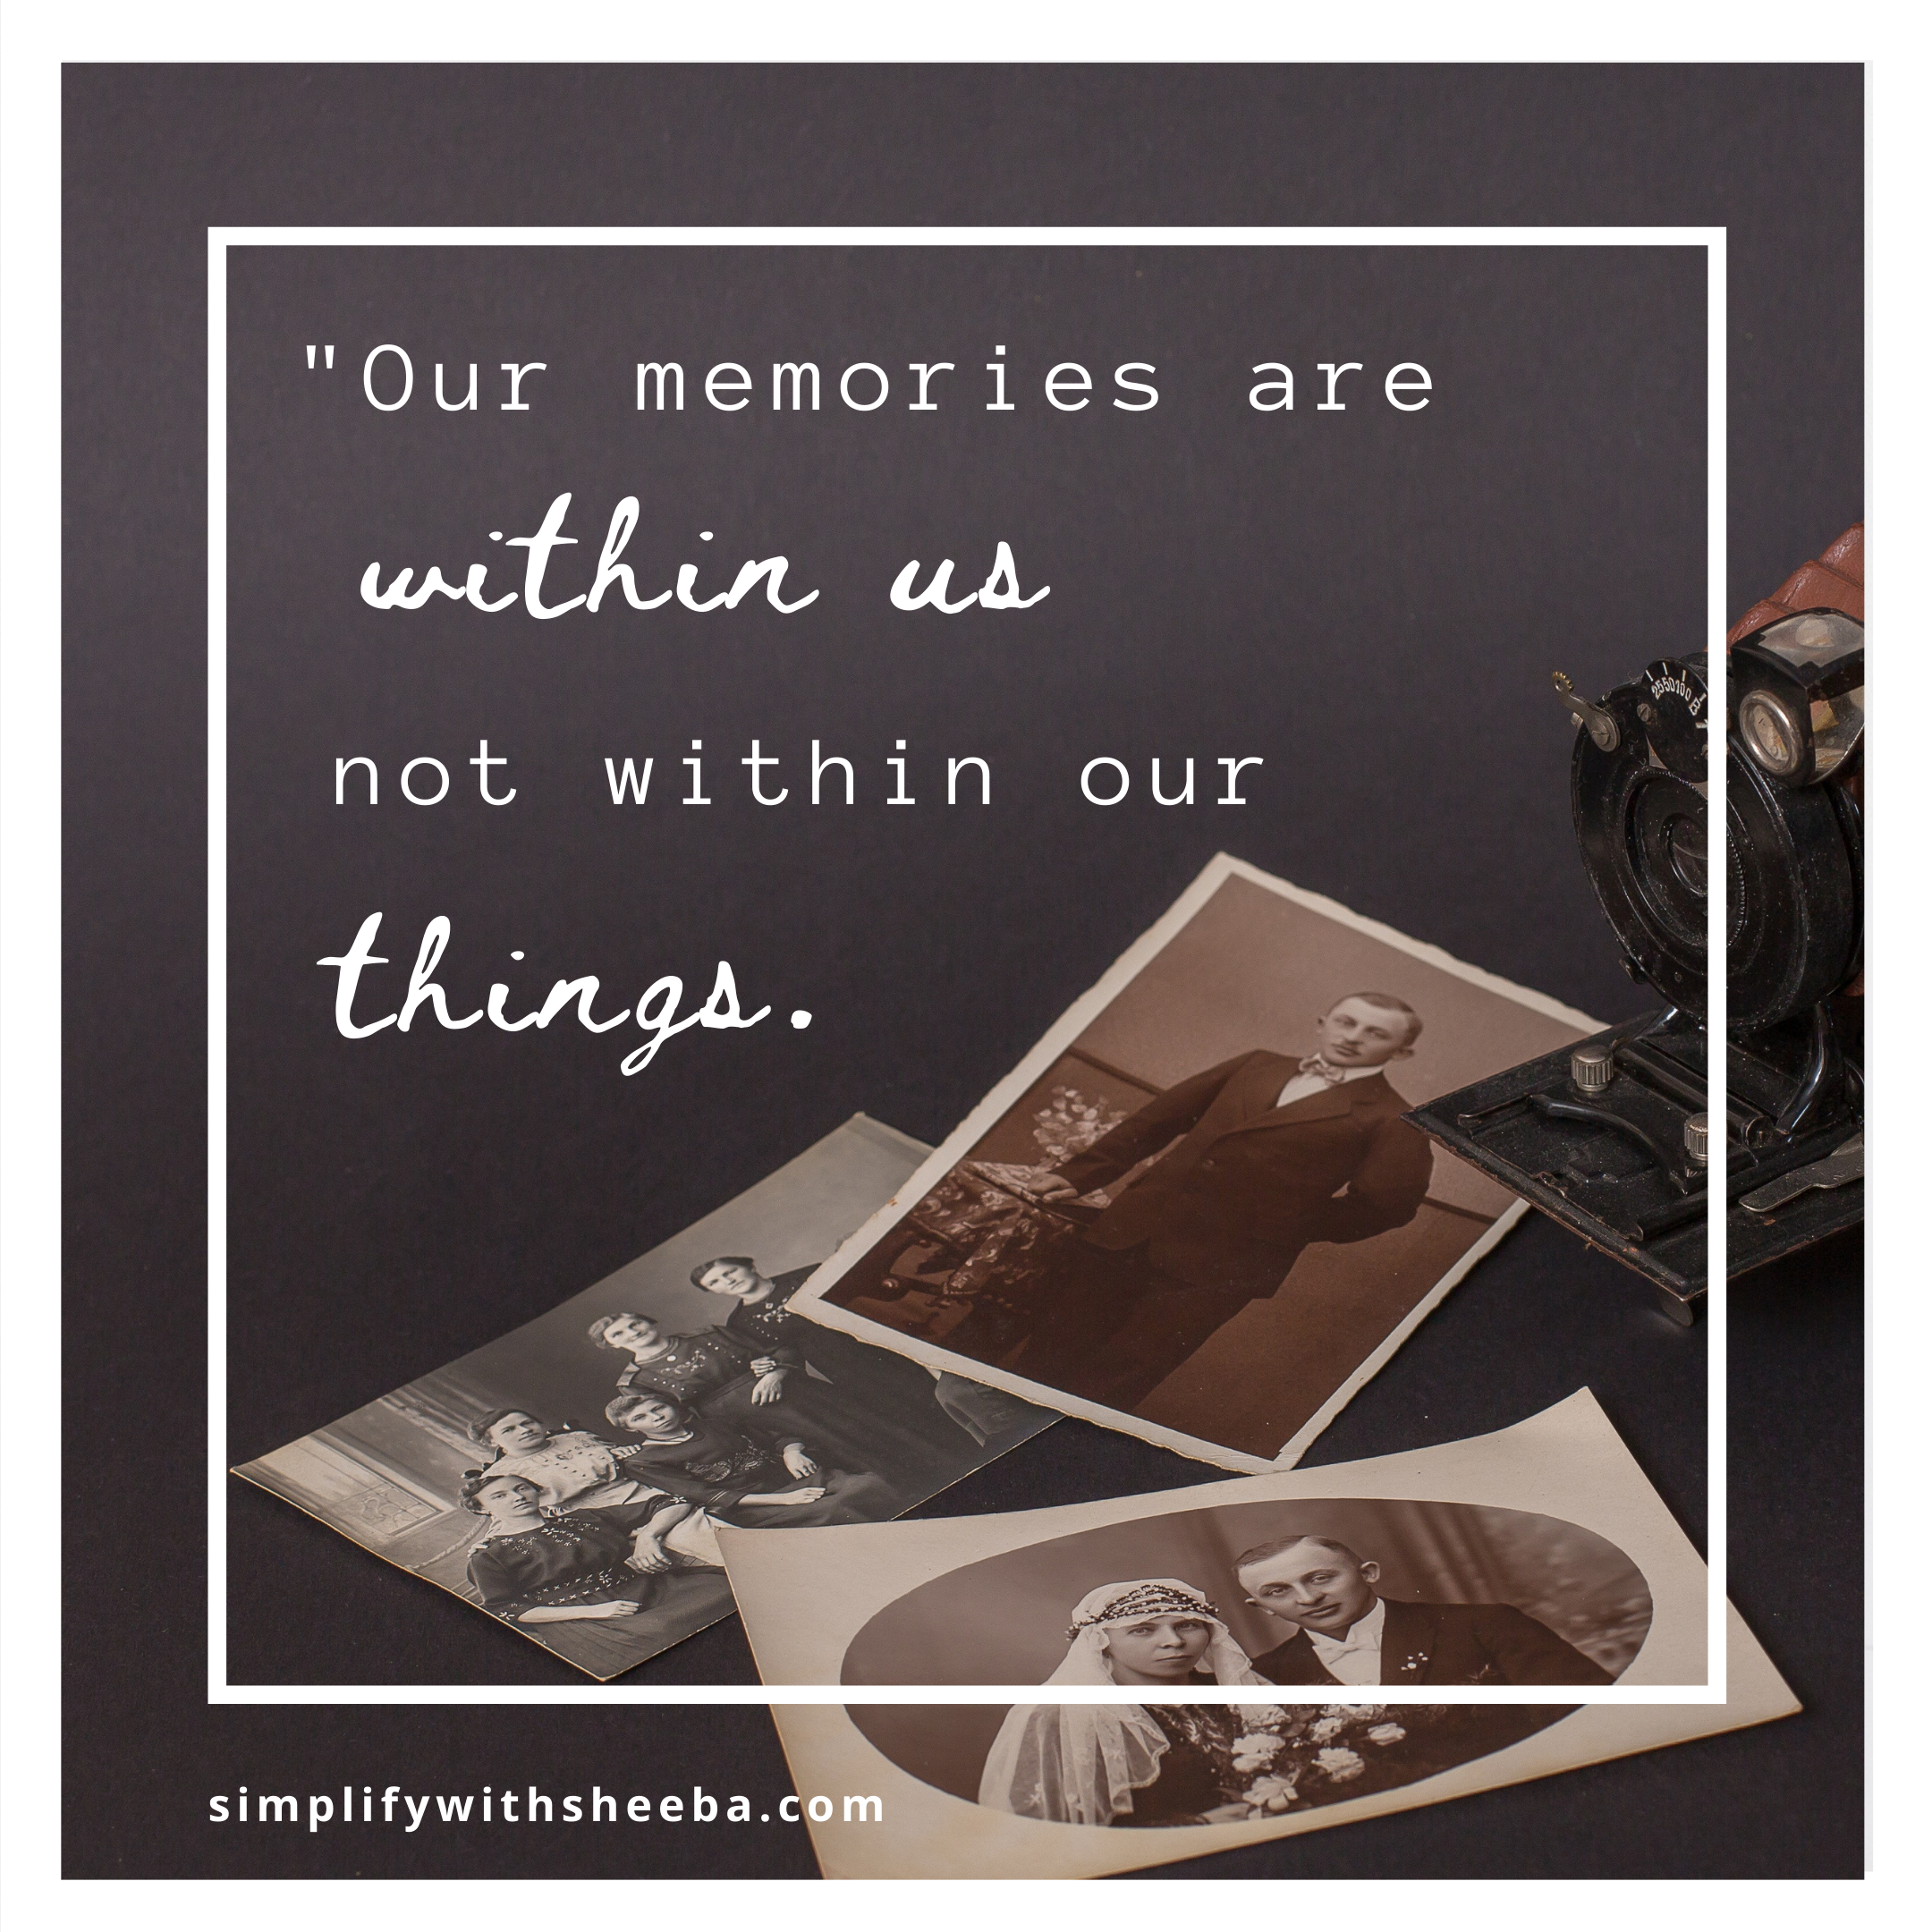
Now, remember: The special memories are in your mind, and in your heart…..not in the object. Letting go of the item, does not mean that you are letting go of those memories. Let that sink in.

sentimental.png

Some helpful tips:

  1. Display some of those special trinkets instead of keeping them in storage. Were you passed down a family heirloom, that you love but keep it away so it stays “safe”? What use is it doing collecting dust high up in a closet? Pull it out so you can enjoy it and let it bring joy to your day.

  2. Were you gifted something but it isn't your taste, nor is it useful to you? Pass on the item to someone who actually wants it and will cherish it. 

  3. Do you have something that you love, but won’t necessarily use? Repurpose that item into something useful. Pinterest is full of wonderful ideas on how to do this. How about those old baby clothes you keep in a storage bin? Choose the special ones and you can sew them together to make an adorable quilt.  These repurposing projects can definitely add character and you can get some use out of it instead of keeping it in storage.

  4. Digitize the item rather than physically hold on to it. A picture is worth a thousand words. Often times, pictures of sentimental items are enough to preserve the memories associated with it, without keeping the items. 

  5. Less is more. If you were passed down a collection of items. Give yourself permission to keep one or two from that group, and let the rest go. 

  6.  Take breaks in between if you are feeling overwhelmed. You don’t need to do it all in one sitting; it can get pretty draining. Take a break, get some air, and come back once you’re able to continue. 

And remember, it is ok to keep some sentimental items, within reason of course. If an item is special and truly brings a smile to your face - by all means…..keep it. Fill your home with items that are full of positive energy. Don’t let an item with negative, guilt ridden feelings take up that valuable space in your home which you can use for other meaningful things. 

Easy tips for an Organized Car

Took some time out on this labour day Monday to get the car organized.

Some easy steps to keep that car tidy!

🔹Trunk organizer: ⁣
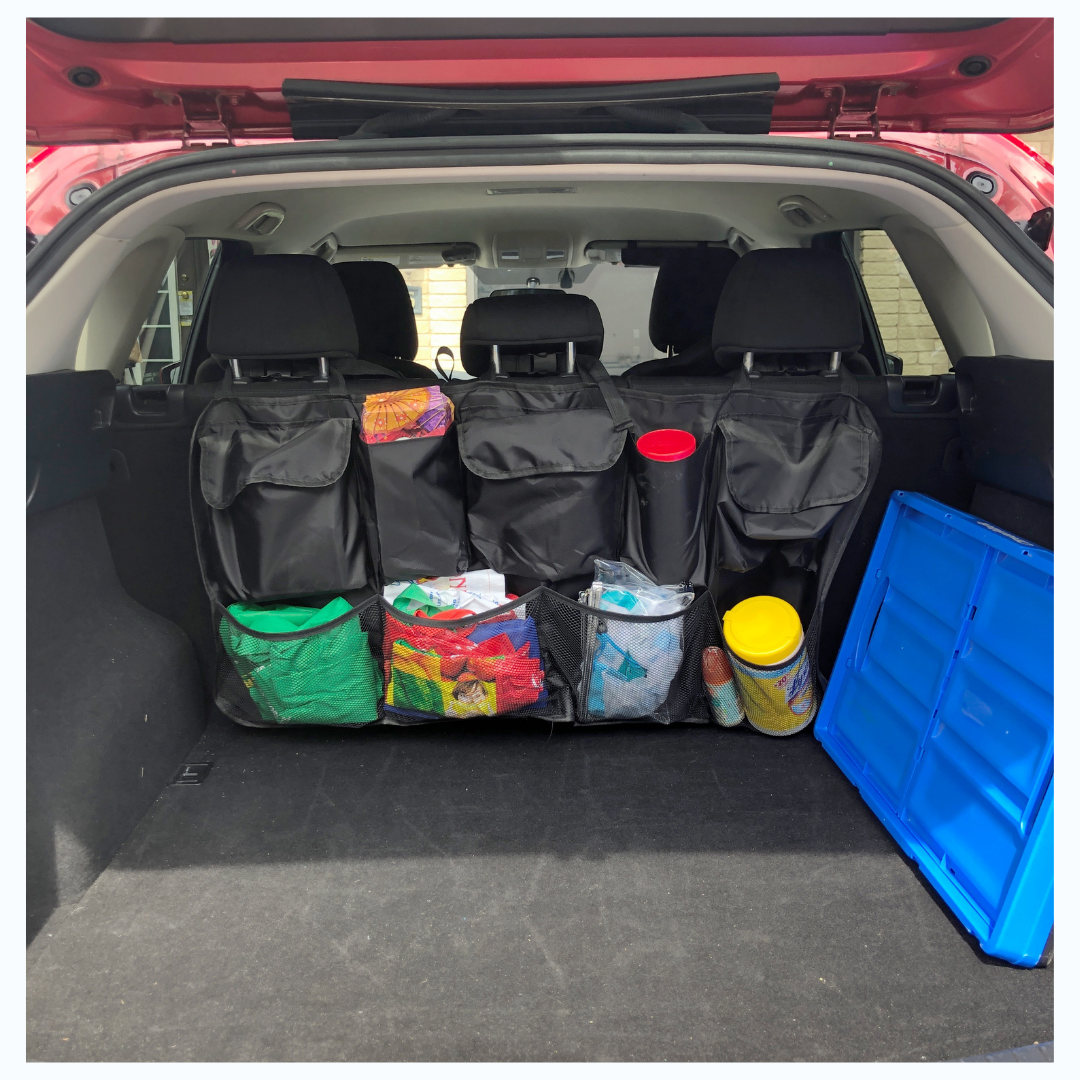
My husband will tell you that I’m the one responsible for the trunk being full. Be it donations to drop off, items to return to the store, reusable bags, you name it. This neat trunk organizer definitely helps contain some of that clutter! I now have a space for my reusable bags, extra tissue paper, lysol wipes and baby wipes. Now I’ll only load up my car with donations or returns, if that is scheduled for the day.

trunkorganization.png
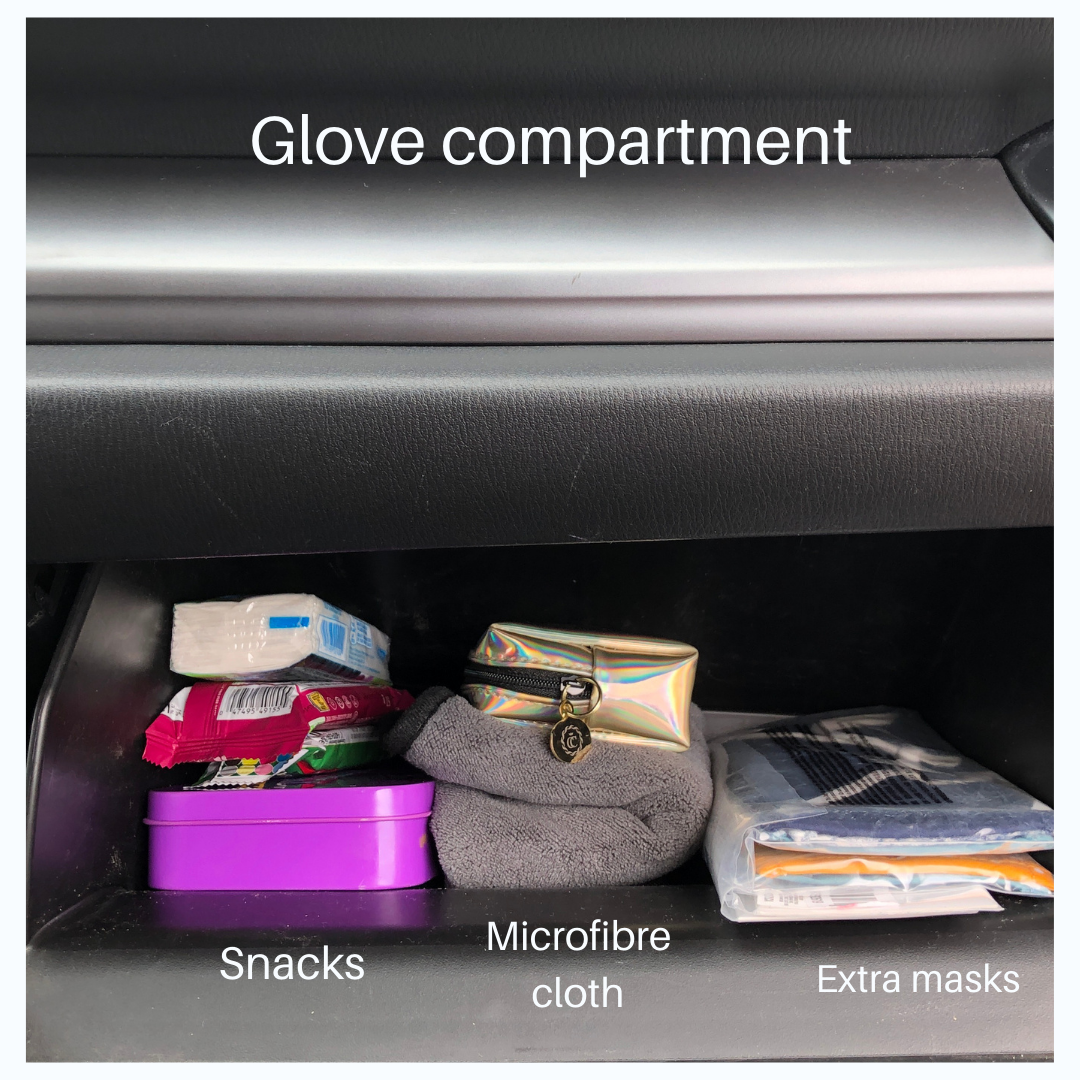
glovecompartment.png


🔹Glove compartment:⁣
The glove compartment on the Mazda is much smaller than others. I can’t even fit the car manual inside. I decided to keep the car manual in the trunk because I rarely use it and I would rather keep my most used items in this prime location.

carvisor.png


🔹Car visor tissue holder⁣
One of my favourite finds. No more tissue box that goes flying when I make my turns.⁣

🔹Backseat organizer. I’ve got one for each child and I couldn’t be happier with these. It keeps things off the seats and floor and my kids are always entertained in the car - which is a plus!

4.png